
We love NetSuite Analytics Workbooks. Their flexible ability to combine multiple datasets and display complex pivots, combined with the underlying datasets’ ability to link objects through any number of joins, closes most of the reporting gaps that saved searches and reports have. We’re not so naïve as to think that being able to serve all your reporting needs from directly within NetSuite will result in your clients doing nothing in Excel. But every incremental step in that direction – every immediately-stale exported/saved/emailed workbook replaced by a real-time-accurate dashboard portlet – is a boon to your business.
Moving workbooks from sandbox to production is easy too, but there are some steps that aren’t obvious. Below I describe in detail how it’s done.
Prerequisites
This article assumes you have a workbook you want to deploy, and that you are already up and running with using the SuiteCloud Development Framework (SDF). If you need help getting set up, Fabian Rodriguez has a great walkthrough on LinkedIn. You can also use the NetSuite Help.
Deploying a Workbook with SDF
Deploying a workbook with SDF includes all the same steps as any other deployment, with a couple of details specific to workbooks.
Create your Project
Create a new SuiteCloud Account Customization project using SuiteCloud: Create Project and set up your connection to the source account using SuiteCloud: Set Up Account.
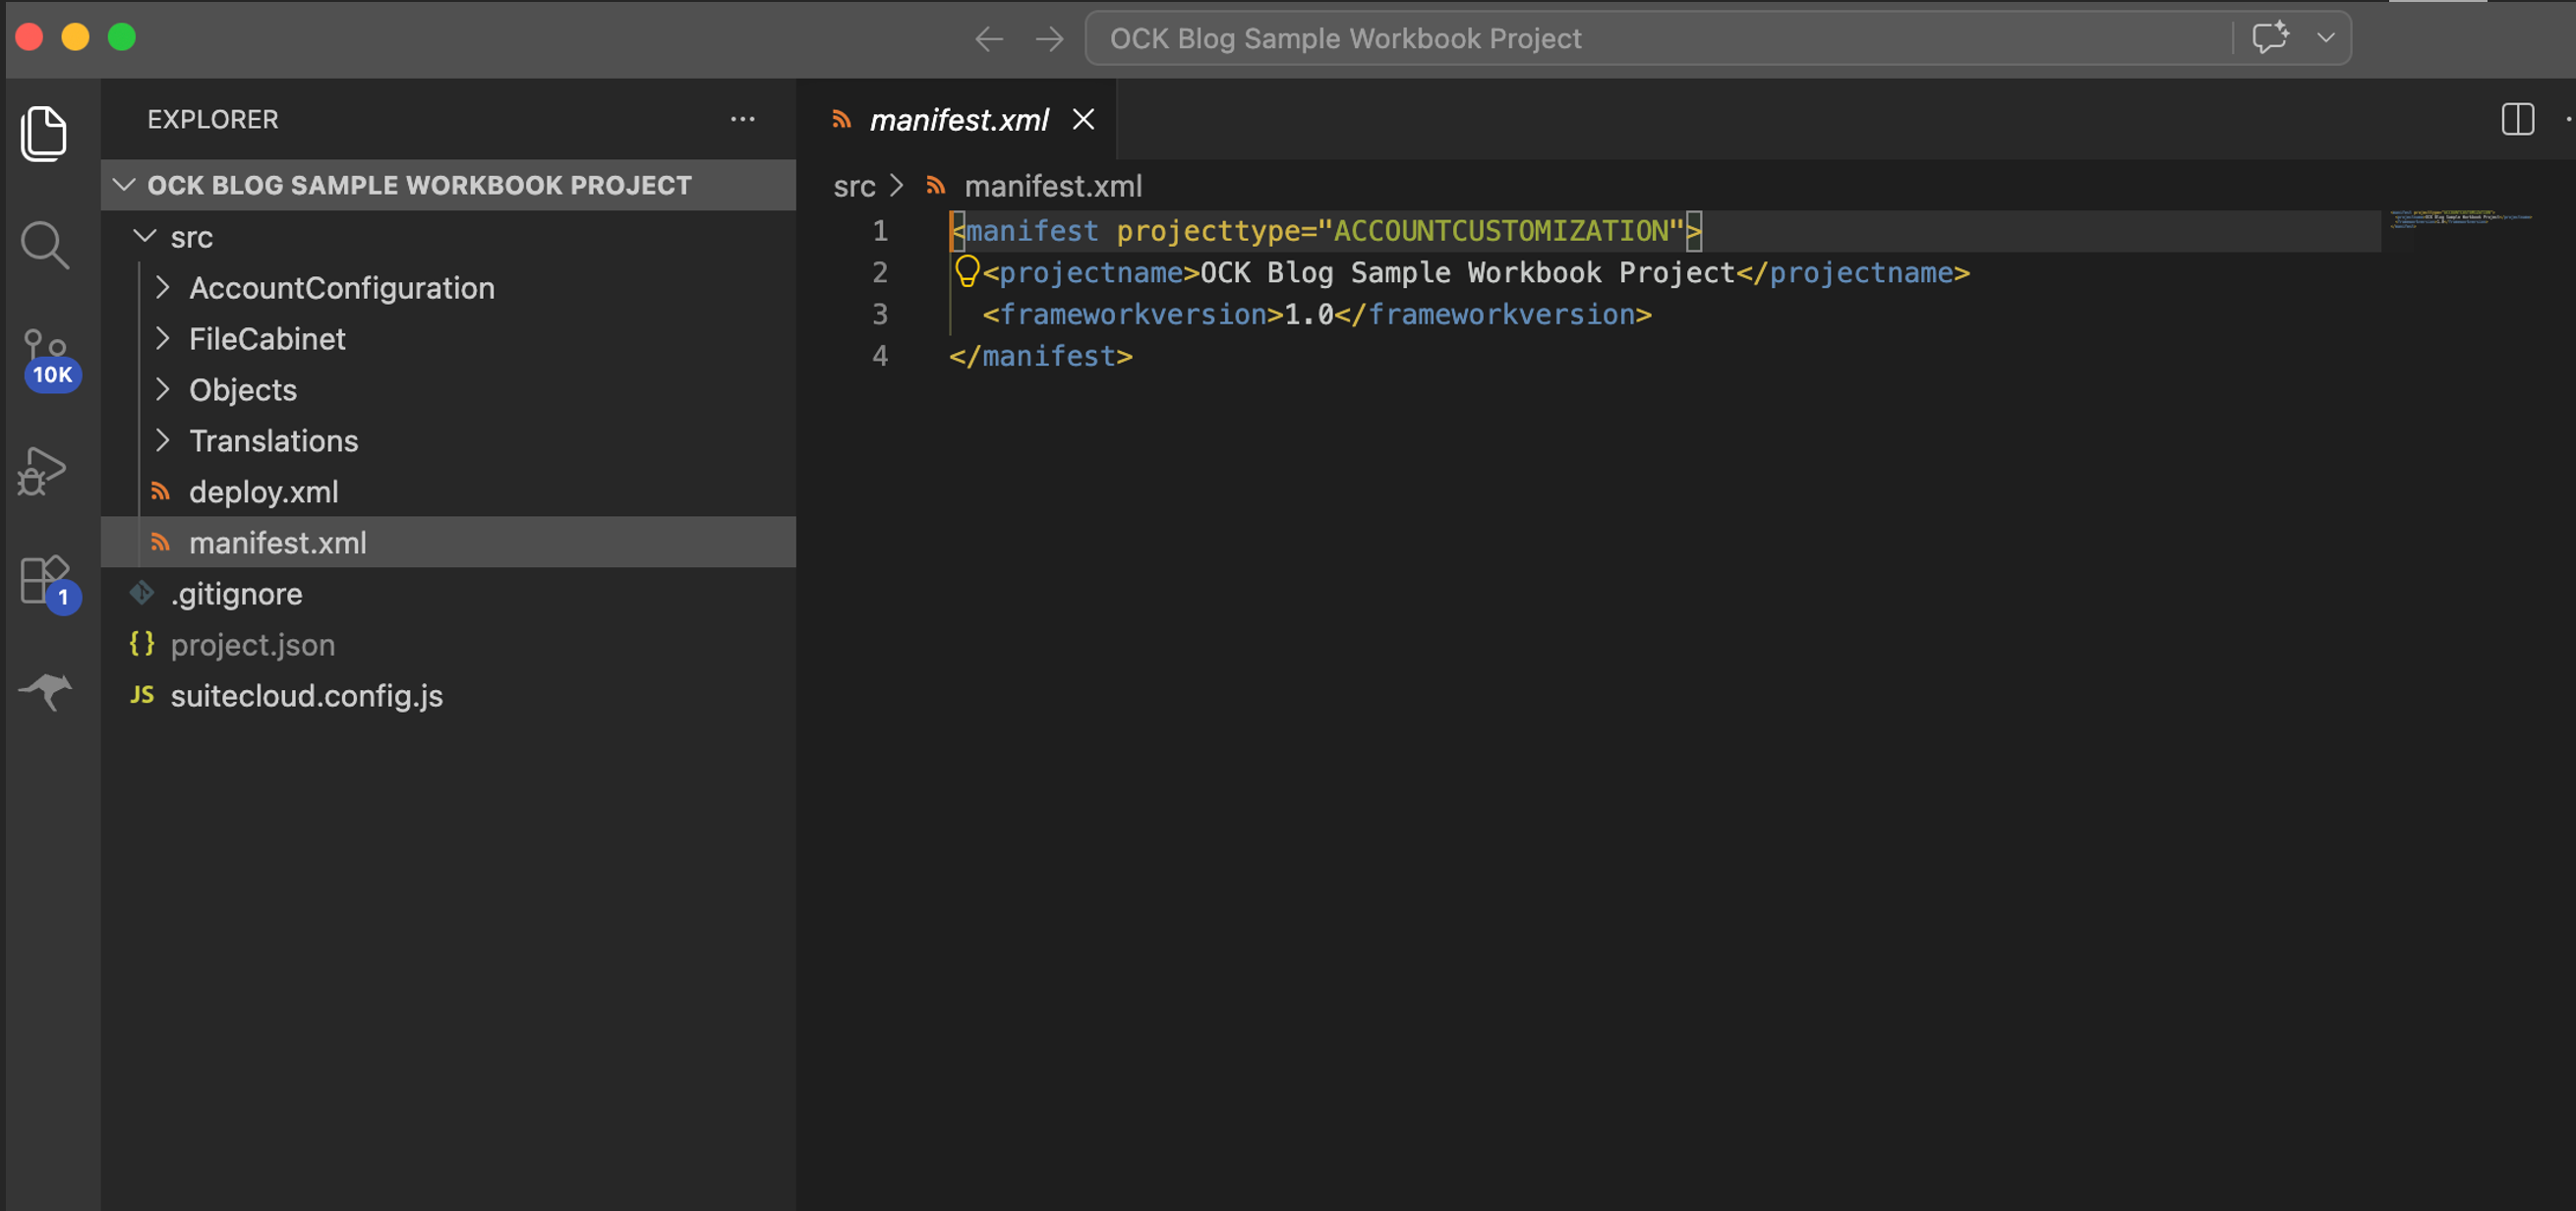
Import Required components
Import your Workbooks
Choose SuiteCloud: Import Objects, select Workbook, and import the workbook you want to deploy.
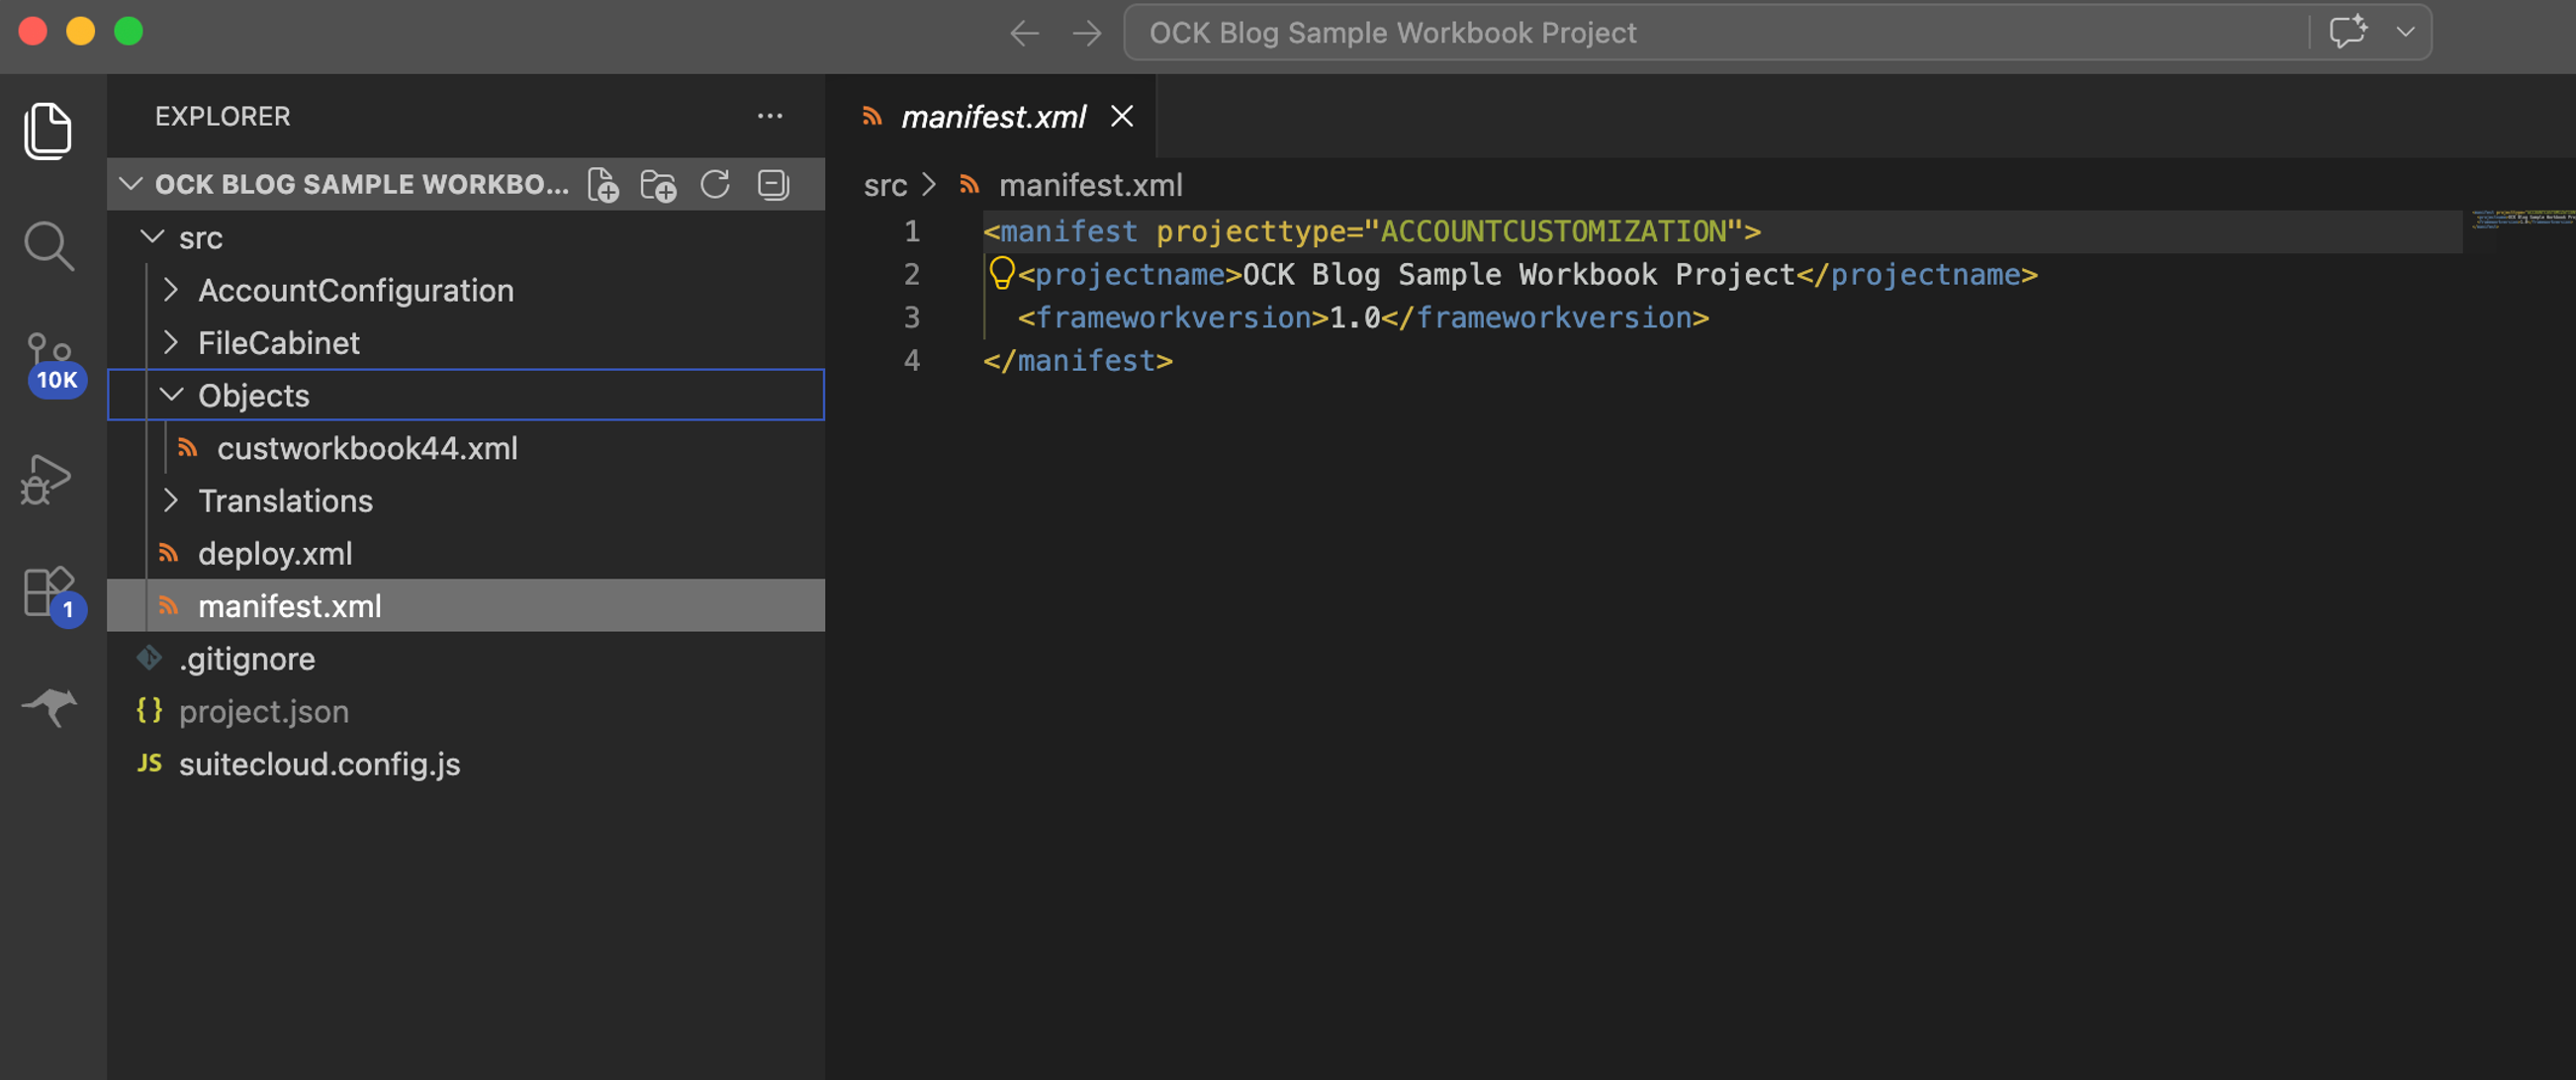
BEST PRACTICE: don’t do what I’ve done in this screenshot and leave the workbook with a default script ID, e.g. custworkbook44. If you create custworkbook44 in sandbox, and then a user creates a workbook in production with the same ID, you may have difficulty deploying or, worse, overwrite someone else’s work with no way to revert.
Import your Datasets
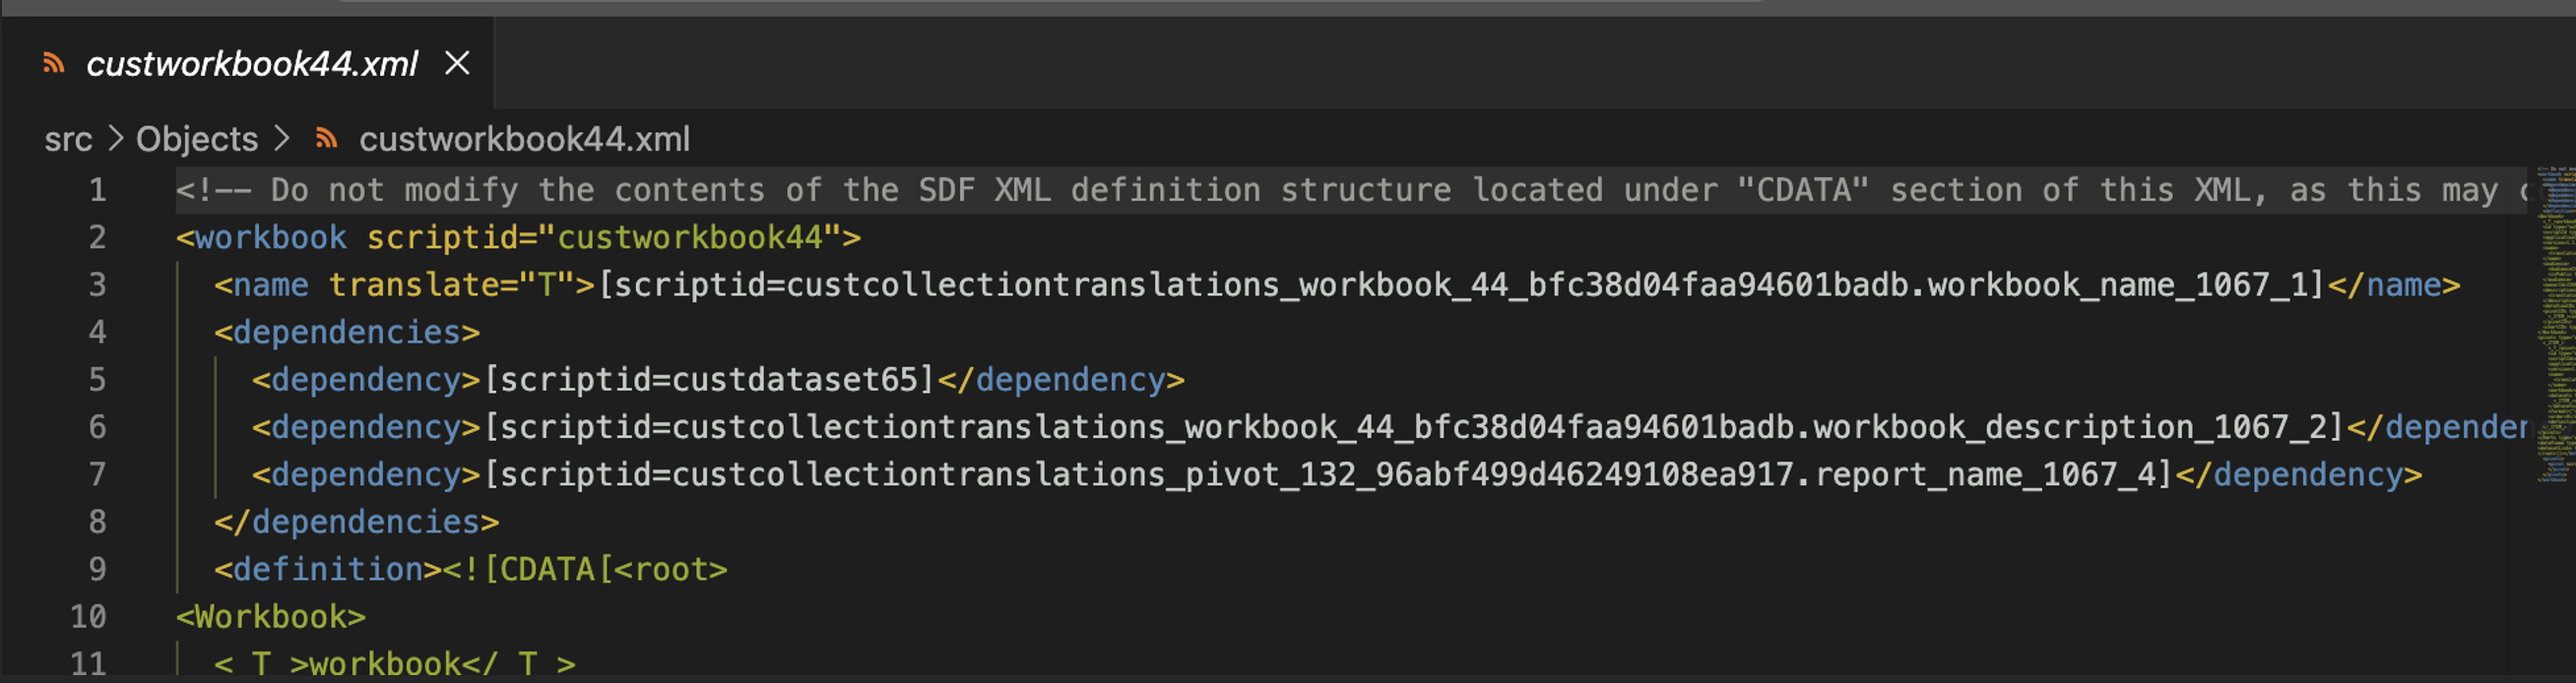
Repeat the import process for the datasets that your workbook depends on. The dependencies will be listed in the <dependencies> section of your workbook xml:
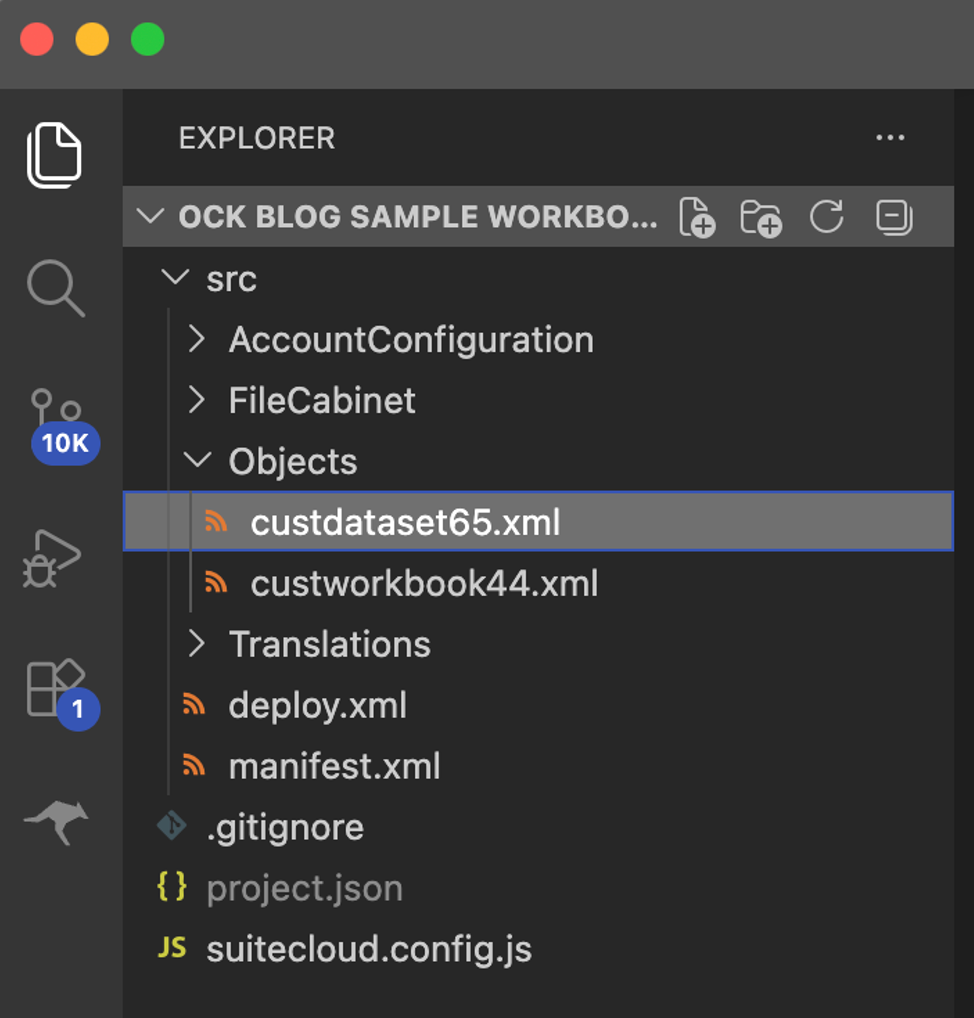
Again, be sure to name your record properly.
Import Translation Collections
Finally for the import step, import translation collections related to your datasets and workbooks. You can find the translation collections you need in the header section of the workbook and dataset HTML:
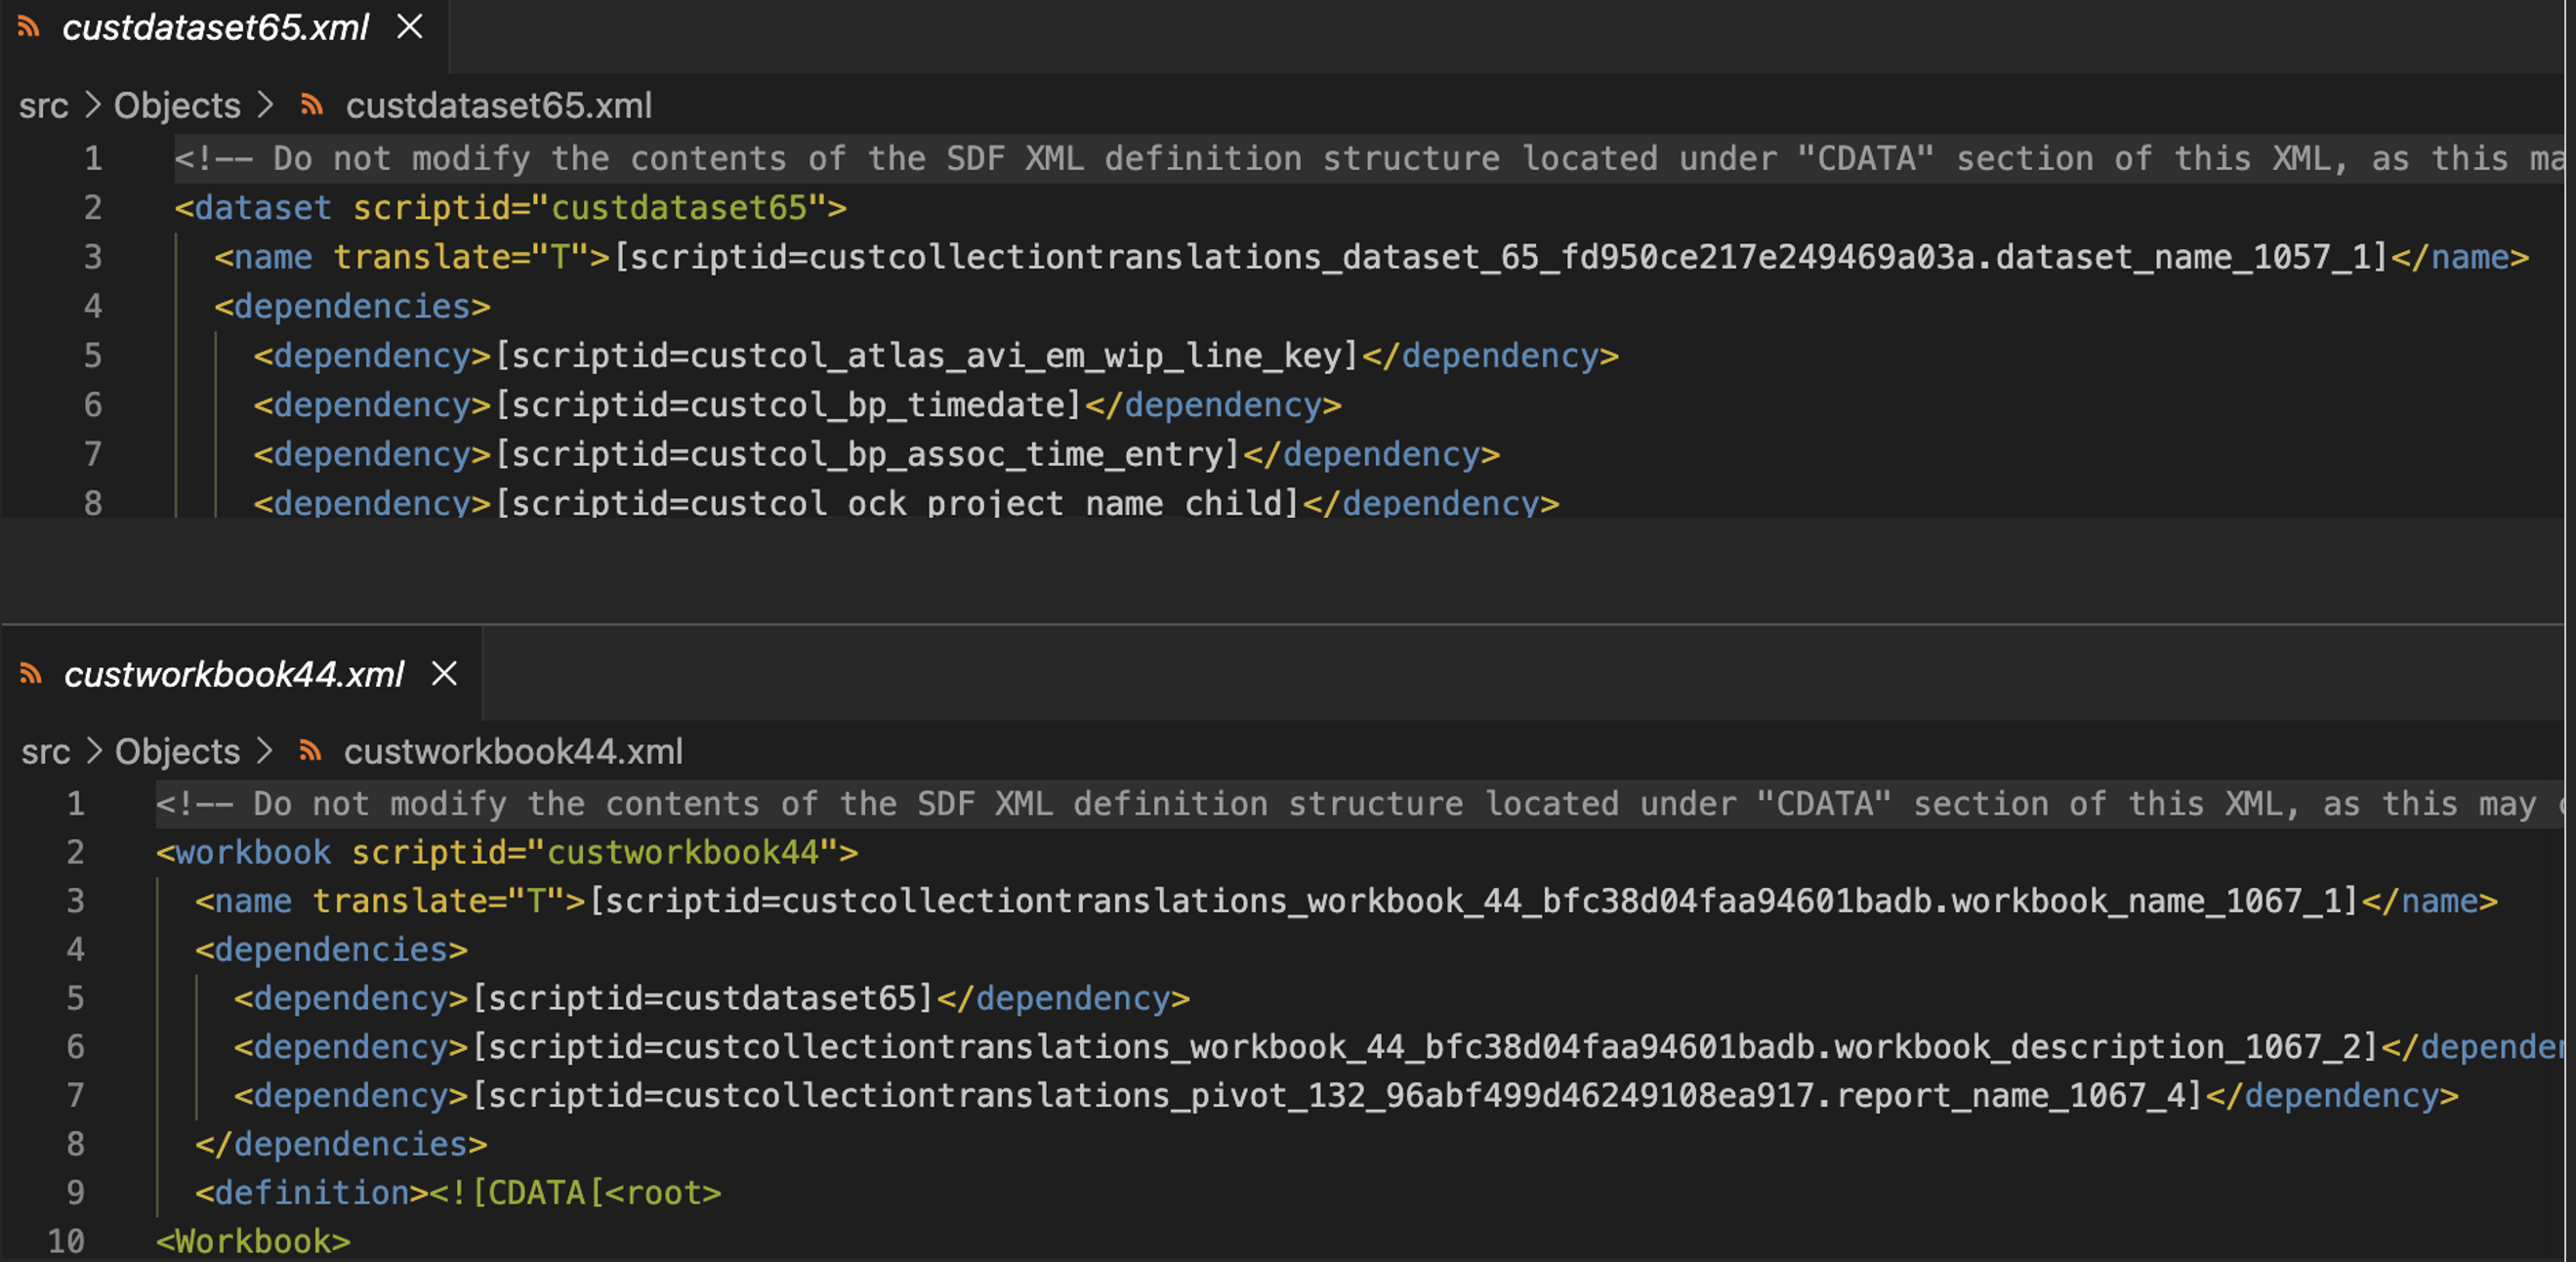
Translation collections replace pointers in your dataset and workbook xml with friendly labels. They are in this case not related to translation between different languages.
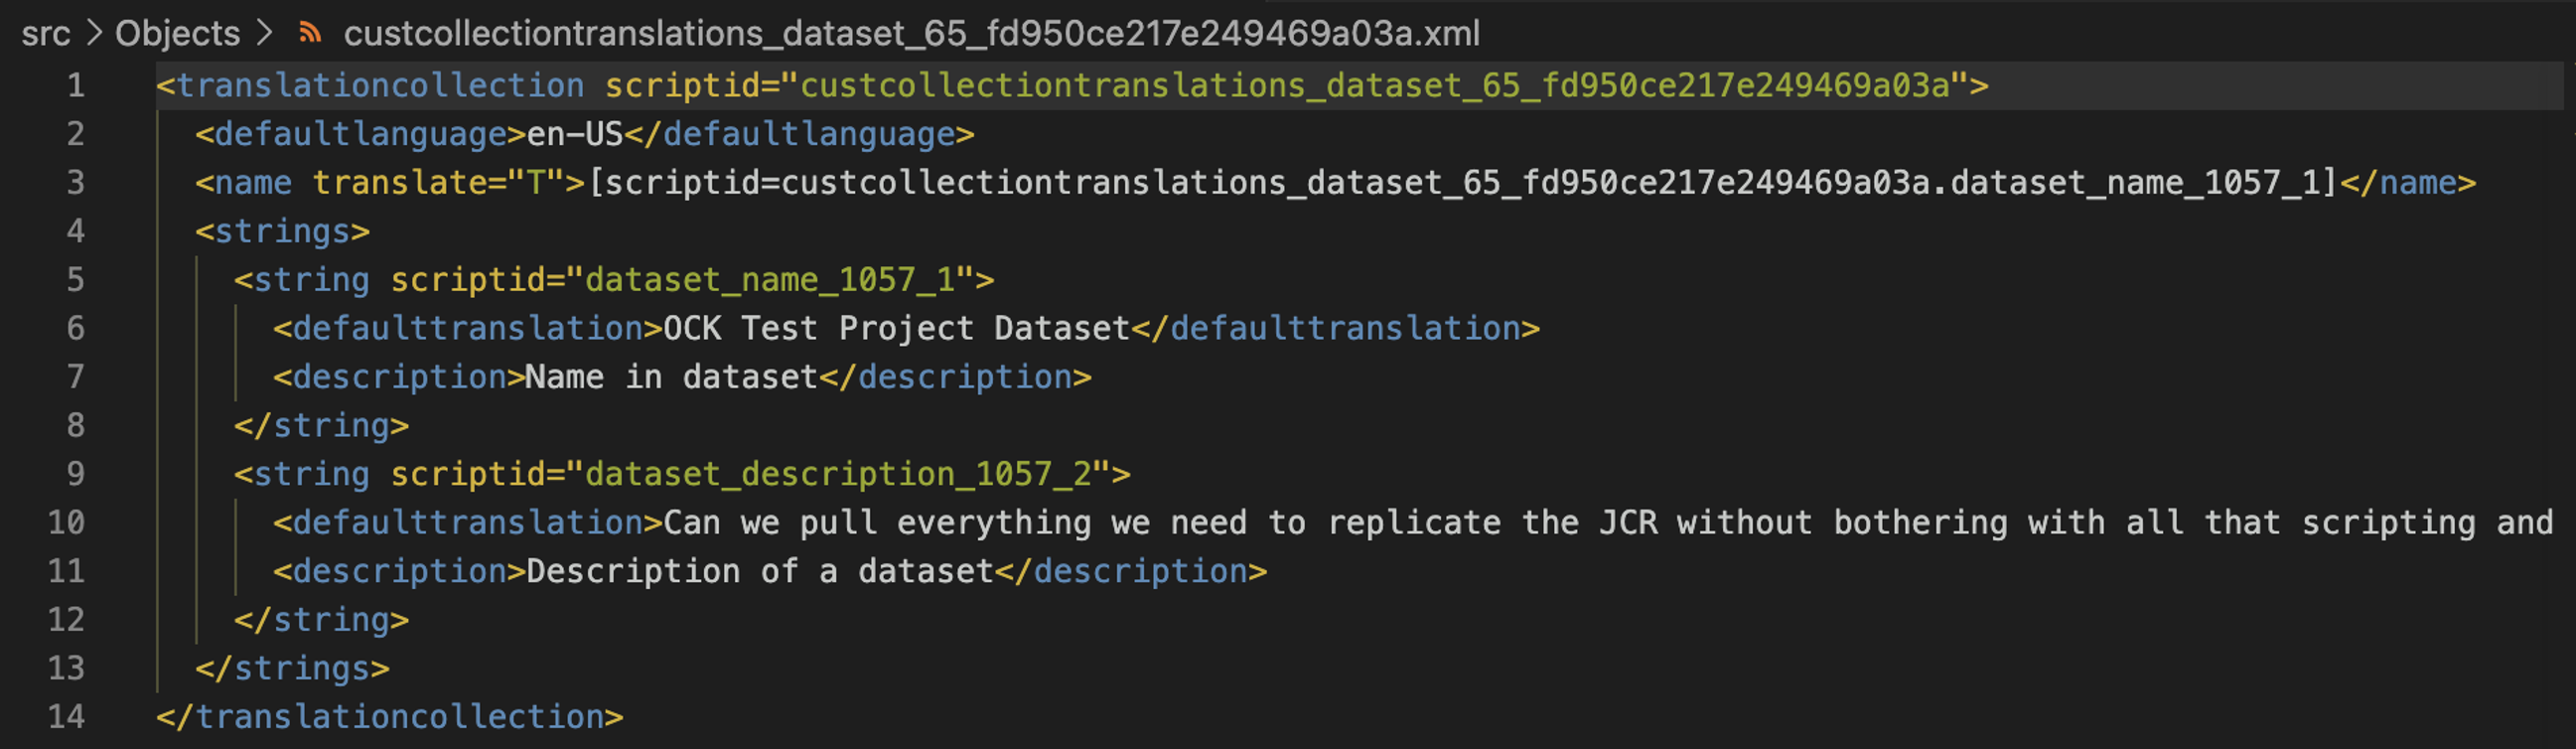
Note that unlike many other objects, translation collections must be included as part of your SDF project when deploying datasets and workbooks, even if they already exist in the target environment and are identical in both environments. This is the main difference between deploying workbooks and deploying…almost everything else.
Add Dependencies
Add dependencies to your manifest.xml document using SuiteCloud: Add Dependency References to Manifest. Validate that you have not included any translation collections in your dependencies. They must be in your project itself, and not in the dependencies.
Validate
Inspect all the components of your project for completeness and uniqueness. When you are satisfied, save the project and switch its Account to your target account using SuiteCloud: Set Up Account. Use SuiteCloud: Validate Project to ensure that your deployment is complete and deployable before deploying. If you have followed the steps above closely, the only error you are likely to get is if your dataset or workbook filters use (the dreaded) ACCOUNT_SPECIFIC_VALUEs. If they do, you can remove the string from the workbook or dataset in your source environment and then use SuiteCloud: Update Object from Account to refresh your project. Once you have deployed, you can manually add the filter back in your source and target accounts.
Deploy!
Finally, deploy your project to your target account and validate.